
One hectic evening in our Garner kitchen, my pumpkin gnocchi turned into dense, rubbery pellets. The wet puree had soaked up way too much flour. I almost gave up. But then I tried draining the wet puree on paper towels first. It worked. Now, these pillow-soft dumplings crisp up in sage butter for a quick 30-minute meal that Olivia and Liam love.

By blotting the pumpkin in a colander, we remove excess moisture. It’s a simple step. But it prevents the need for extra flour, keeping our gnocchi incredibly light.
Simple Ingredients for the Perfect Pillowy Gnocchi
- Pumpkin: You can steam, boil, and mash fresh pumpkin. Or, do what I do on busy weeknights. Grab a can of pumpkin puree. It’s so much easier.
- Full-Fat Ricotta: It’s our secret to a cloud-like texture. It adds a rich creaminess that keeps the dough incredibly tender.
- Plain Flour: Standard all-purpose flour binds our dough. We’ll keep some extra on hand for dusting the counter.
- Parmesan Cheese: Finely grated parmesan goes right into the dough. It adds a wonderful, savory depth that balances the sweet pumpkin beautifully.
- Egg: A single egg acts as the binder. It helps the dough hold its shape without needing a mountain of heavy flour.
- Salt and Black Pepper: These simple pantry staples season our gnocchi dough from the inside out. They ensure every bite is flavorful.
- Key Technique: Blotting the Pumpkin: Spread the pumpkin onto paper towels in a colander for five minutes. It strips away excess moisture. This guarantees light, melt-in-your-mouth dumplings instead of dense, rubbery ones.
- Butter and Olive Oil: We use a splash of olive oil and some butter to pan-sear our gnocchi to golden perfection. Then, we melt the remaining butter to make a rich, nutty sauce.
- Fresh Sage Leaves: These fry directly in the melting butter. They get so crispy! It fills the kitchen with a gorgeous, earthy aroma that David absolutely loves.
- Garnish and Toppings: Serve this cozy dish immediately. Finish with a dusting of finely grated parmesan, a crack of fresh black pepper, and a touch of salt. It makes those crispy edges pop.
Step-by-Step: Crafting Pillow-Soft Pumpkin Gnocchi in Your Kitchen
Bringing these restaurant-quality dumplings to your dinner table takes only 30 minutes. That’s it! Once you master my paper-towel trick to banish the excess moisture, you’ll never worry about heavy dough again. Let’s head to the counter. We’ll roll out some pillowy magic together.
- Drain the Pumpkin: Line a colander with 4 sheets of paper towel. Spread your mashed pumpkin or canned puree across the surface. Let it sit for 5 minutes. You’ll see the paper towels darken as they drink up the excess liquid. They leave behind a concentrated, thick paste. Now, measure out exactly 1/2 cup of this blotted pumpkin.
- Mix the Dough: Combine the drained pumpkin, full-fat ricotta, flour, parmesan, egg, 1/4 teaspoon of salt, and a pinch of black pepper in a large bowl. Stir with a wooden spoon. Keep going until a soft, pliable dough forms. It’s that easy. Take a moment to enjoy the rich, savory scent of grated parmesan blending with the sweet pumpkin.
- Shape the Gnocchi: Dust your clean countertop with flour. Tip the dough out, sprinkle with more flour, and pat it into a neat log. Cut the log into 6 equal pieces. Next, roll each piece into a 1.7cm (2/3-inch) rope. Cut the ropes into small squares. You can leave them rustic. Or, press the cut side of each dumpling with the tines of a fork to create beautiful, sauce-catching ridges. It’s fun to do!
- Boil the Dumplings: Bring a large pot of water to a rolling boil over high heat. Scrape your prepared gnocchi onto parchment paper. Tip them into the bubbling water. Cook for 1 minute until every single dumpling rises to the surface. Listen to that gentle, rhythmic bubbling. Scoop them out and drain them thoroughly.
- Sear the Gnocchi: Melt 1 teaspoon of the butter with the olive oil in a large skillet over medium-high heat. Add the drained gnocchi to the hot pan. Cook, shaking the skillet frequently, for 1 1/2 minutes until the edges turn brown. Don’t skip this step!
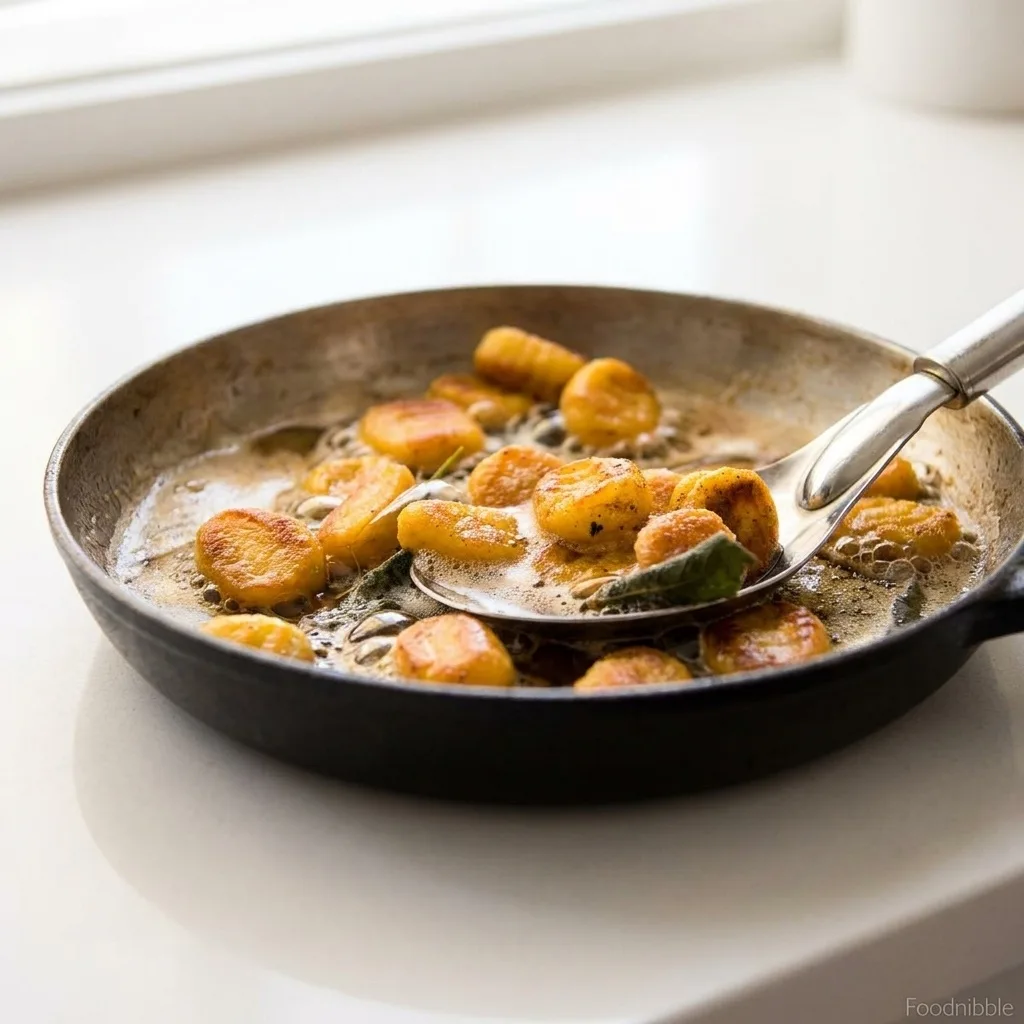
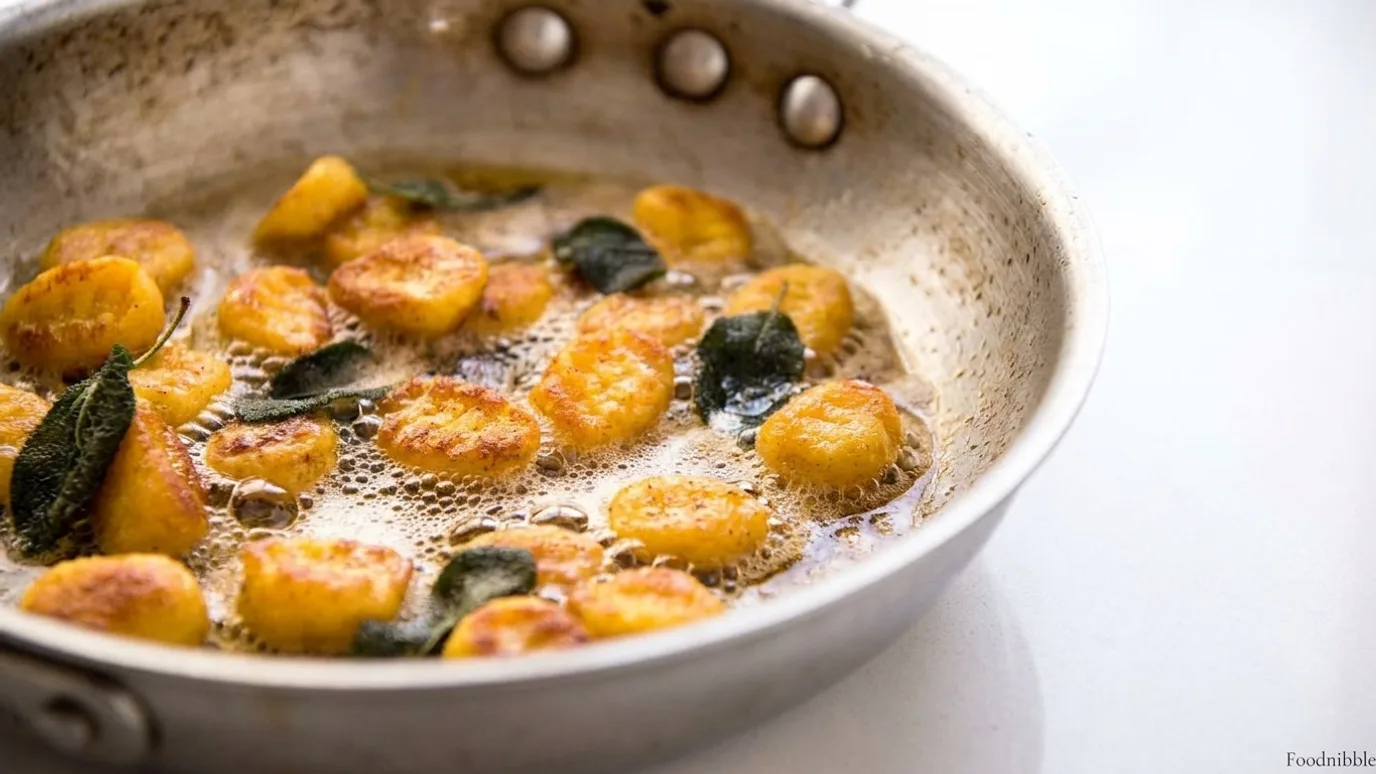
- Crisp the Sage: Drop the remaining butter and fresh sage leaves into the skillet. Cook over medium-high heat for 2 1/2 minutes, stirring gently. The gnocchi will turn golden-brown, the sage leaves will get crisp, and the butter will develop a deeply toasted, nutty fragrance. Season with salt if you used unsalted butter. Plate immediately. Garnish with fresh parmesan and black pepper.
I know your family is going to fall in love with these cozy, pan-seared pillows of joy!
Simple Ways to Master Your Gnocchi Technique
I love this recipe exactly as it is. But you can play around with how you shape and sear these little pillows to get them just right for your family. Here are a few of my favorite kitchen-tested techniques. They’ll help you nail it every single time.
- The Fork Ridge Technique: Want a classic Italian look? Use the tines of a fork to press down lightly on each cut dough square. This creates beautiful, rustic ridges. They do a wonderful job of catching and holding onto the rich sage butter sauce.
- The Single-Layer Sear: To get those gorgeous, crispy edges, don’t crowd your skillet. If your pan is on the smaller side, sear the boiled gnocchi in batches. They’ll fry beautifully in the melting butter and olive oil rather than steaming.
- The Gentle Float Test: Keep your eyes glued to the pot of boiling water. Once the gnocchi rise to the surface, they’re officially cooked. Let them swim for one quick minute before draining. This ensures they stay wonderfully light and melt-in-your-mouth tender.
Keeping the Cozy Magic Alive
If you happen to have any leftovers—though in my house, David and the kids usually polish off every last bite!—they’re incredibly easy to save. Let your cooked gnocchi and sage butter sauce cool down completely to room temperature. Then, seal them in an airtight container. This simple step prevents unwanted moisture from building up, keeping your dumplings nice and plump. They’ll stay tasty in the refrigerator for up to 3 days. You can freeze the uncooked dough shapes on a parchment-lined tray for up to a month. However, I definitely recommend enjoying these cooked leftovers straight from the fridge for the best texture.
When you’re ready to eat, skip the microwave. You don’t want to lose that wonderful texture. Instead, melt a tiny pat of butter in a skillet over medium-low heat. Gently toss your leftovers into the warm pan and heat them through for a few minutes. Shake the skillet occasionally. This quick stovetop warm-up revives those gorgeous, golden crisp edges. It coaxes the sage leaves back to life, making your quick lunch or second-night dinner taste just as heavenly as the moment it first left the stove.
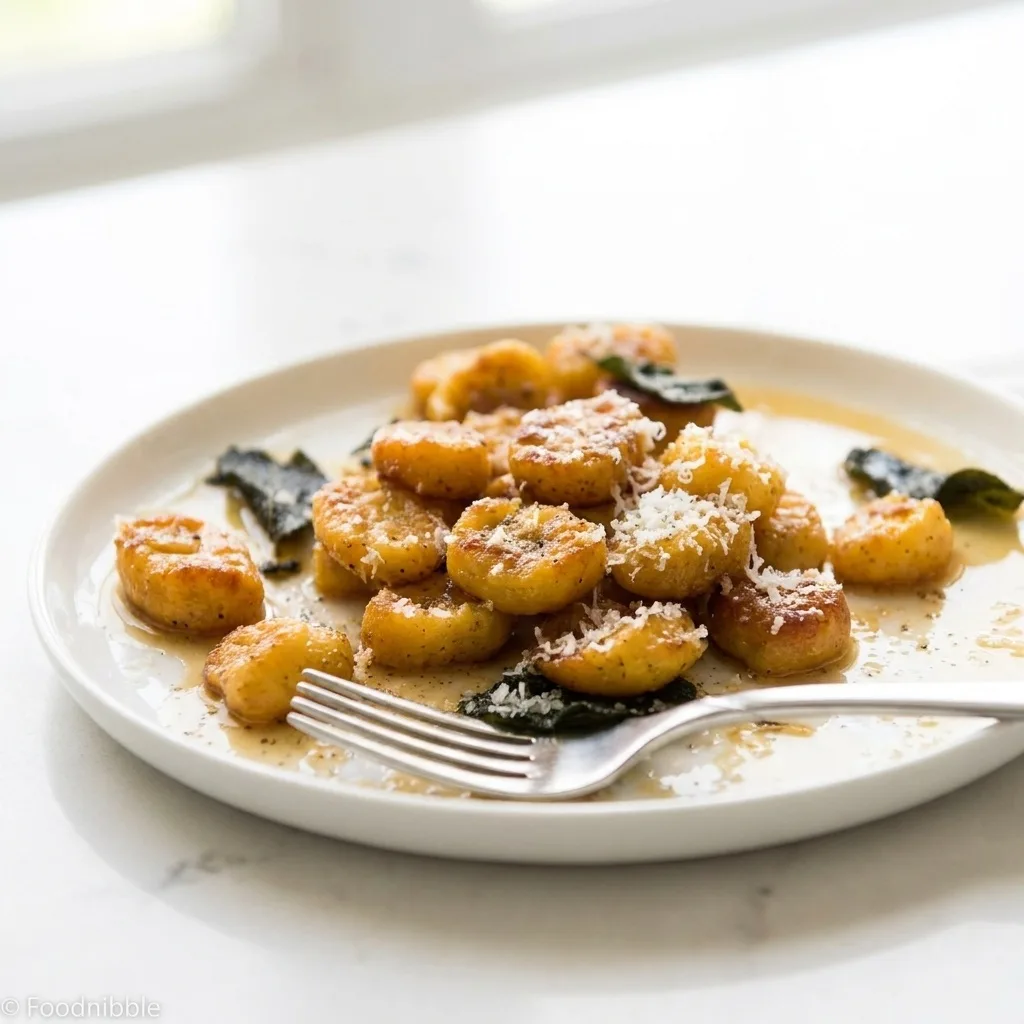
How to Serve and Enjoy This Cozy Autumn Feast
When I pull a skillet of these golden, pan-seared gnocchi off the stove, David and the kids are already at the table with their forks ready. While this comforting dish is incredibly satisfying on its own, a couple of thoughtful additions can turn it into a truly memorable family dinner.
- A Crisp, Acidic Green Salad: Try a simple bowl of leafy salad greens tossed in a sharp, vinegar-based dressing. The bright acidity and bitter notes clean your palate between bites. It cuts right through the rich, nutty brown butter.
- Warm Roasted Greens: Quickly roasting bitter leafy greens provides a charred, smoky contrast. This balances the natural, earthy sweetness of the pumpkin dough.
- Extra Crispy Sage Leaves: Fry a few extra sage leaves in the pan. They yield a delicate, crackly topping that contrasts wonderfully with the pillowy texture of the gnocchi.
- Finely Grated Parmesan: Dust a generous flurry of salty, savory parmesan over the hot pasta. It creates a melt-in-your-mouth finish that deepens the rich flavor of the sauce.
- Freshly Cracked Black Pepper: A final, bold grind of black pepper cuts through the buttery sweetness. It adds a sharp, warming kick to the dish.
This recipe has become an absolute staple in our busy Garner home. It brings everyone together around the table after a hectic school run. Have you ever tried making your own pasta from scratch? Or is this your very first time stepping into the world of homemade gnocchi?
If these pillowy dumplings bring a little extra warmth to your dinner table tonight, please take a moment to drop a star rating on the recipe card below. It would mean the world to me.
Questions About Easy Pumpkin Gnocchi with Sage Butter Sauce
Can I freeze the uncooked pumpkin gnocchi?
Yes, you can freeze them for up to one month. Shape the gnocchi, place them in a single layer on a parchment-lined tray to freeze solid, and then transfer them to an airtight container. Boil them straight from frozen, adding an extra minute to the cooking time until they all float to the surface.
Can I use canned pumpkin instead of fresh pumpkin?
Yes, you can use canned pumpkin puree instead of fresh boiled pumpkin. Just make sure to use 2/3 cup of plain canned pumpkin puree, not pumpkin pie mix, and still blot it on paper towels in a colander for five minutes to remove excess moisture before measuring out your 1/2 cup for the dough.
Why did my gnocchi fall apart in the boiling water?
Your pumpkin puree had too much moisture or the dough needed more flour. Next time, ensure you blot the pumpkin on paper towels for a full five minutes to remove excess water. If the mixed dough still feels too sticky or wet to roll into ropes, gently pat in a little extra plain flour.
How do I know when the sage butter sauce is done?
The sauce is done when the butter turns lightly browned, smelling nutty, and the sage leaves become crisp. This process takes about two and a half minutes in the skillet over medium-high heat after adding the remaining butter and sage. Watch closely so the butter does not burn.
Easy Pumpkin Gnocchi with Sage Butter Sauce
Ingredients
Method
- Line a colander with 4 sheets of paper towel. Spread the fresh mashed pumpkin or canned puree onto the paper towel (see photo in post) then leave for 5 minutes.
- Measure out 1/2 cup of pumpkin puree (scale up if you scaled recipe, Note 6).
- Place pumpkin and remaining Gnocchi ingredients in a bowl. Use a wooden spoon to mix well - it should be a soft dough. (Note 4)
- Dust a work surface with flour, tip dough out, sprinkle with flour then pat into log shape.
- Cut into 6 pieces. Roll into 1.7cm / 2/3" ropes, then cut into squares (Note 5).
- Optional: Use a fork to press down lightly on the cut side of the gnocchi.
- ### Cooking
- Bring a large pot of water to the boil.
- Scrape gnocchi onto parchment paper, then tip into water. Cook for 1 minute or until all the gnocchi rises to the surface (means it is cooked), then drain.
- Meanwhile, melt about 1 teaspoon of the butter plus oil in a large skillet over medium high heat. Add gnocchi and cook, shaking the pan, until the gnocchi is just starting to turn brown (about 1 1/2 minutes).
- Add remaining butter, once it melts, add sage leaves. Stir and cook for 2 1/2 minutes or until gnocchi is golden, sage is crisp and butter is slightly browned. Add salt if you used unsalted butter.
- Serve immediately, garnished with parmesan and pepper.

Leave a Comment