
I’ll be honest I used to think homemade ice cream was a bit of a gimmick. Why go through the whole production when there’s a freezer aisle two minutes down the road? Then I made this one, and I genuinely haven’t bought chocolate ice cream since.

It’s that good.
What sets it apart isn’t some clever trick or secret ingredient. It’s just two forms of chocolate (cocoa powder and real melted chocolate), a proper custard base, and the patience to let it chill overnight before churning. Seven ingredients. That’s the whole story.
Why this recipe actually works
Most homemade chocolate ice cream falls into one of two traps. Either it tastes weak and milky like someone showed milk a picture of chocolate or it freezes into a brick you need a chisel to scoop. This one sidesteps both, and there are real reasons why.
Blooming the cocoa powder in hot cream is the move that changes everything. It pulls flavor out of the cocoa in a way that cold mixing never will same principle as why brownie recipes always heat the cocoa with butter. Then we melt actual chocolate into that, which adds a fudgy depth on top of the cocoa’s roastiness. Two layers of chocolate doing two different jobs.
The custard part the milk, sugar, and egg yolks cooked together is what makes this scoop properly. Yolks are full of fat and emulsifiers that keep ice crystals small. Skip them and you get something more like chocolate ice. Include them and you get the silky texture that makes you close your eyes on the first bite.
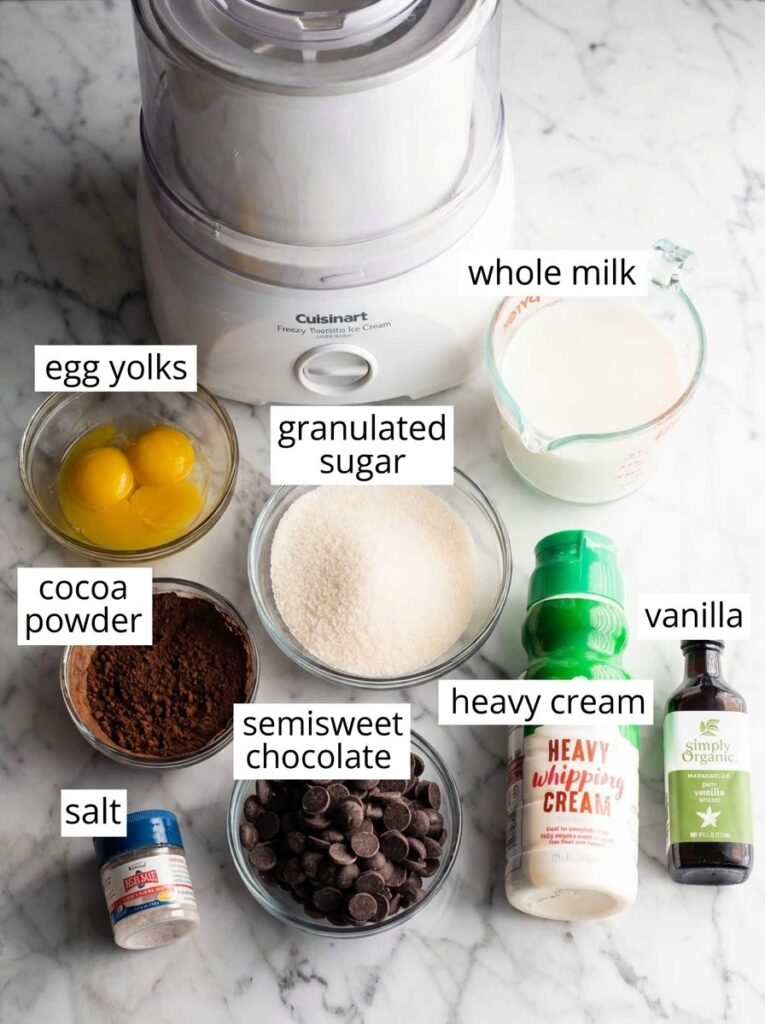
A few notes on the ingredients
Heavy cream is non-negotiable. I know it feels indulgent. But half-and-half or milk-only versions turn icy and disappointing. Save this recipe for when you want the real thing that’s the whole point of making it yourself.
Cocoa powder regular unsweetened works perfectly here. If you want a darker, more grown-up flavor, swap in Dutch-process or a dark cocoa. Both are great. Don’t use hot cocoa mix.
The chocolate matters more than you’d think. I usually reach for 60% semisweet chips because they’re easy, but if you have a decent chocolate bar in the cupboard, chop it up instead. The difference shows up in the finish. Milk chocolate will make the ice cream sweeter and milder; 70% and up makes it intense in a properly grown-up way.
Whole milk, not skim or 2%. Half-and-half is fine if it’s what you’ve got.
Egg yolks three of them. Don’t skip these. Don’t try to lighten it up by using fewer. They’re doing real work and you’ll taste the difference if they’re missing.
Granulated sugar is just sugar. Cane sugar, regular white sugar, whatever you have. I wouldn’t try to swap in honey or maple syrup here the water content throws off the texture.
Vanilla extract at the end is small but it matters. A half teaspoon rounds everything out. Vanilla bean paste is even better if you happen to have it.
The custard part isn’t scary, I promise
The one step that scares people off is tempering the egg yolks pouring warm milk into them slowly so they don’t scramble. It sounds finicky but it really isn’t.
Three rules. Whisk the yolks while you pour. Go slow at first, fast once they’ve warmed up. And don’t let the milk get hot before you start warm is the word, not steaming.
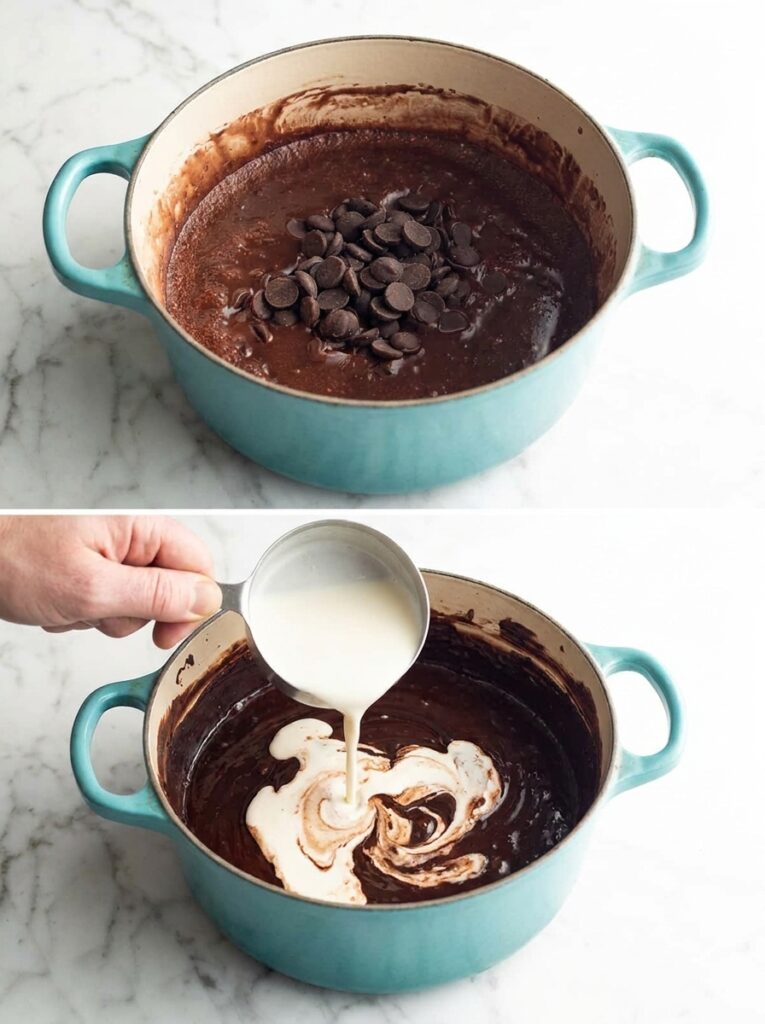
If you somehow mess it up and see little flecks of cooked egg, that’s exactly what the strainer is for. Pour it through, throw out what gets caught, and nobody will ever know.
The custard is finished when it coats the back of a spatula and a finger swipe leaves a clean line through it. 170°F if you have a thermometer. Don’t let it boil that’s really the only way to ruin it. Pull it off the heat the second it thickens.
The waiting is the hardest part
Chilling the base for at least 6 hours (overnight is better) is the step everyone wants to skip. Don’t.
A warm base churns into something soft and grainy that never really freezes properly. A cold base churns into actual ice cream. If you’re impatient, set the bowl in an ice bath and stir it every few minutes that’ll get you there in about an hour.
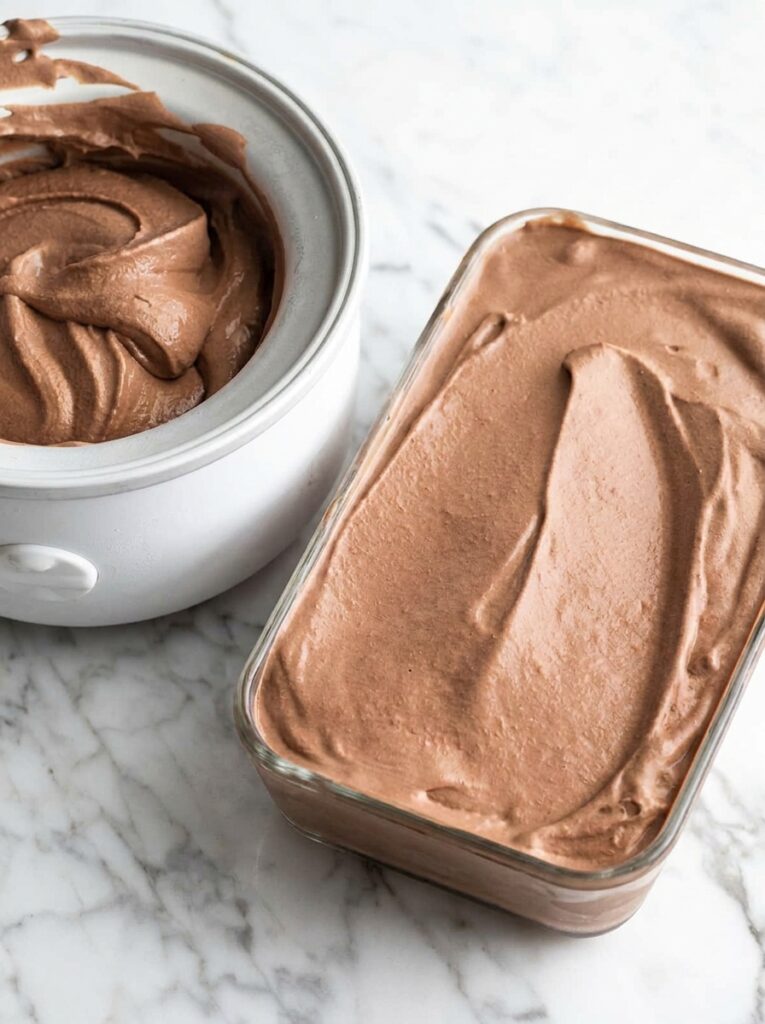
Same deal with the final freeze after churning. Straight out of the machine it’s the texture of soft-serve, which is honestly amazing if you can’t wait. But another 6 hours in the freezer firms it up into proper rounded scoops.
Serving ideas
A scoop next to a warm brownie. Sandwiched between two chocolate chip cookies. Drowned in hot fudge and a handful of toasted nuts. Layered into an ice cream cake. Stirred into a milkshake with a splash of cold milk. Eaten straight from the container at 11pm with a spoon, standing in front of the open freezer absolutely no judgment here.
Storage tips
In an airtight container, this keeps for about 2 months in the freezer, though good luck making it last that long. A glass container with a tight lid is ideal. If you want to keep ice crystals off the top, press a piece of parchment paper directly onto the surface before you put the lid on that little step makes a real difference if it sits for a while.
Mix-ins are encouraged
Toward the end of churning, when the ice cream is thickened but still soft, you can fold in whatever you like:
- Chunks of edible cookie dough (life-changing)
- Brownie pieces
- Mini chocolate chips
- Chopped peanut butter cups
- A swirl of dulce de leche or peanut butter
- Toasted hazelnuts
- Crushed Oreos
Just keep mix-ins to about a cup total so you don’t overwhelm the base.
If you make this, let me know how it turns out. And if you’ve got a favorite mix-in you swear by, I’m always taking suggestions I’m building up the courage to attempt a salted caramel swirl next.
Leave a Comment