
No Thanksgiving feast feels complete until the scent of warm cinnamon, freshly grated nutmeg, and caramelized pumpkin fills the home. While store-bought pies often suffer from gelatinous, rubbery textures and soggy crusts, this Classic Homemade Pumpkin Pie is a masterclass in holiday baking perfection. Featuring an intensely buttery, shatteringly flaky crust cradling an uncracked, satiny custard, it is the timeless dessert your family will look forward to all year long.

The beauty of a scratch-made pumpkin pie lies in precision. With a few professional culinary techniques—like balancing brown sugar for rich molasses depth, adding an extra egg yolk for silkiness, and employing a dual-temperature baking technique—you will produce bakery-quality results right from your home kitchen.
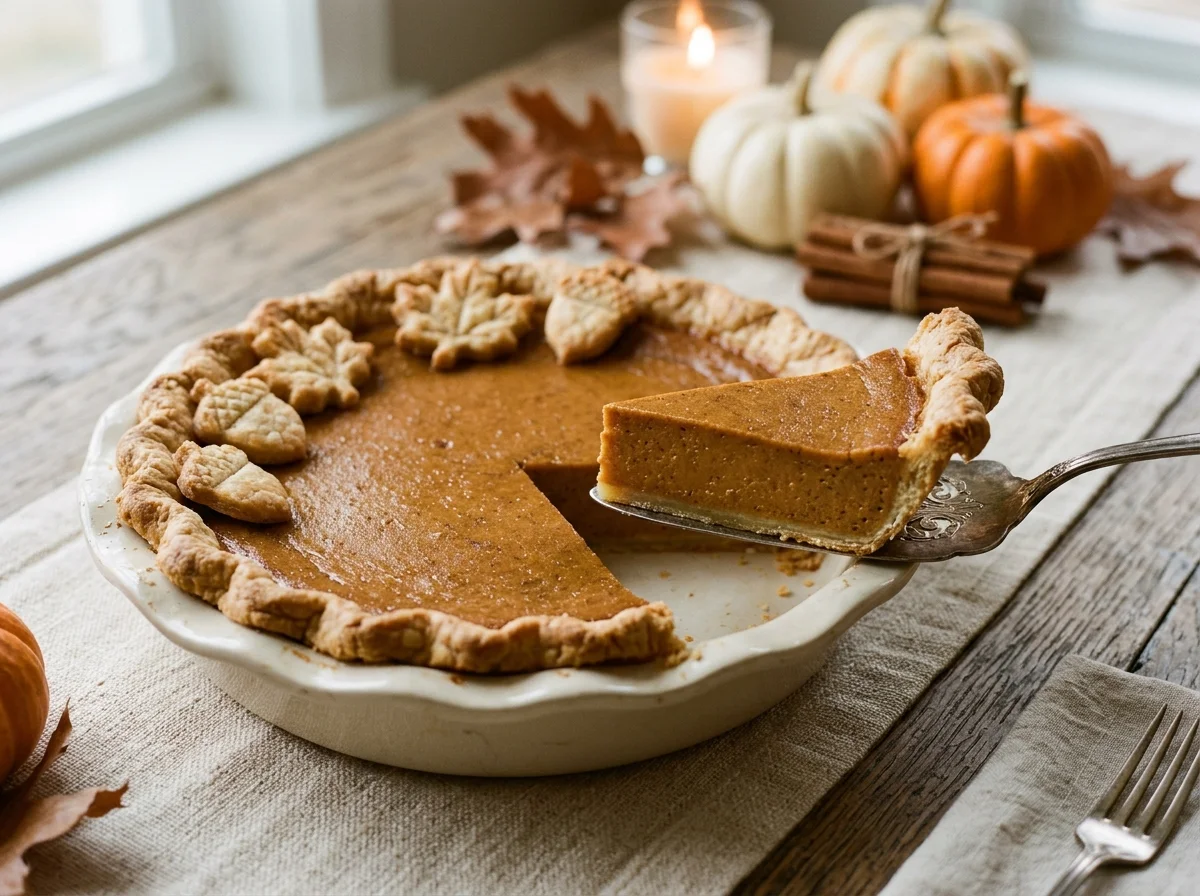
The Culinary Science of Silky, Crack-Free Pumpkin Custard
Pumpkin pie is technically a baked custard, which means its texture is governed by the delicate balance of proteins, liquids, and heat:
- The Extra Egg Yolk Secret: While whole eggs provide structural firmness, egg whites alone can turn custards spongy if overcooked. Adding one extra large egg yolk contributes pure lecithin and natural fats, transforming the filling into an impossibly smooth, melt-in-your-mouth custard.
- Brown Sugar & White Sugar Harmony: Using 100% white granulated sugar produces a one-dimensional sweetness. By substituting three-quarters of the sugar with packed light brown sugar, you infuse the custard with natural caramel and molasses undertones that complement roasted pumpkin beautifully.
- Heavy Cream vs. Evaporated Milk: Traditional recipes often call for evaporated milk, but rich heavy whipping cream (with 36% butterfat) delivers unmatched body, preventing the pie from shrinking or separating as it cools.
- Fresh Whole Nutmeg: Ground nutmeg purchased in a tin loses its essential volatile oils within months. Grating fresh whole nutmeg across a microplane directly into the bowl releases warm, fragrant notes that elevate the pie from ordinary to unforgettable.
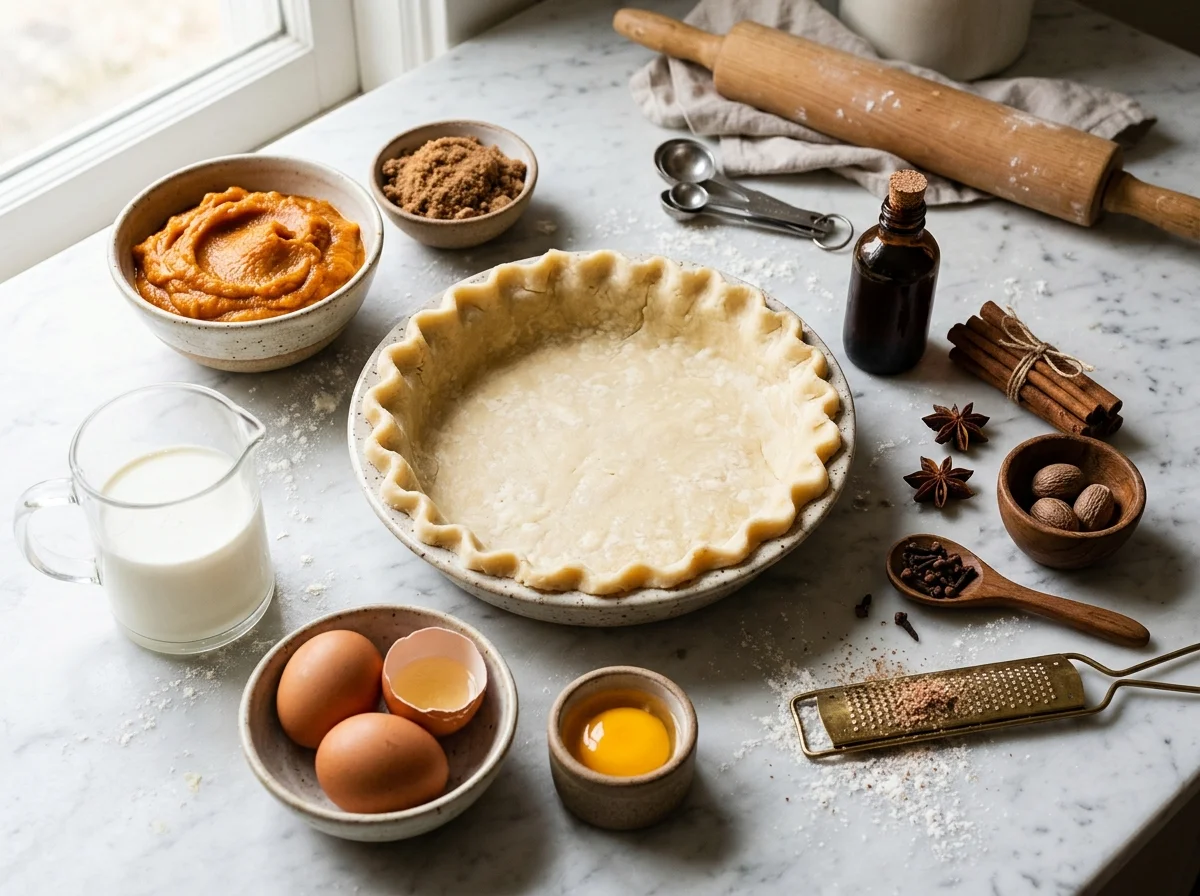
How to Prevent Common Pumpkin Pie Pitfalls
1. Banishing the “Soggy Bottom” Forever
Because pumpkin pie filling is liquid when poured into the dish, pastry dough can absorb excess moisture before the bottom crust has time to bake through. To guarantee a crisp, flaky bottom crust without blind baking:
- The Egg White Barrier: Lightly brush the raw interior of your rolled pie dough with beaten egg white. The egg protein quickly forms an impermeable cooked barrier when heated, preventing liquid custard from soaking into the pastry.
- Preheat a Baking Sheet: Place a heavy rimmed baking sheet on the lower-third oven rack while preheating. Setting your pie dish directly onto this scorching metal surface immediately shocks the bottom crust with intense direct heat, rendering the butter layers into flaky, golden perfection.
2. The Dual-Temperature Bake (No Cracks!)
Cracks on the surface of a pumpkin pie occur when the eggs coagulate too violently under high heat. We solve this by starting the pie at 425°F (220°C) for 15 minutes to puff and crisp the crust edges, then immediately dropping the heat to 350°F (175°C) to gently set the custard interior without stressing the delicate egg matrix.
Mastering the “Jiggle Test”
How do you know when your pumpkin pie is done without cutting into it? Watch the movement:
- Underbaked: The entire surface ripples like a wave of liquid when gently nudged.
- Overbaked: The center is puffed high and dome-like; fine hairline cracks will start forming as moisture escapes.
- Perfectly Baked: The outer 2 to 3 inches of the pie are set and slightly puffed, while the very center retains a gentle, subtle jiggle (similar to set gelatin). Residual heat will finish setting the center as the pie cools on the counter.
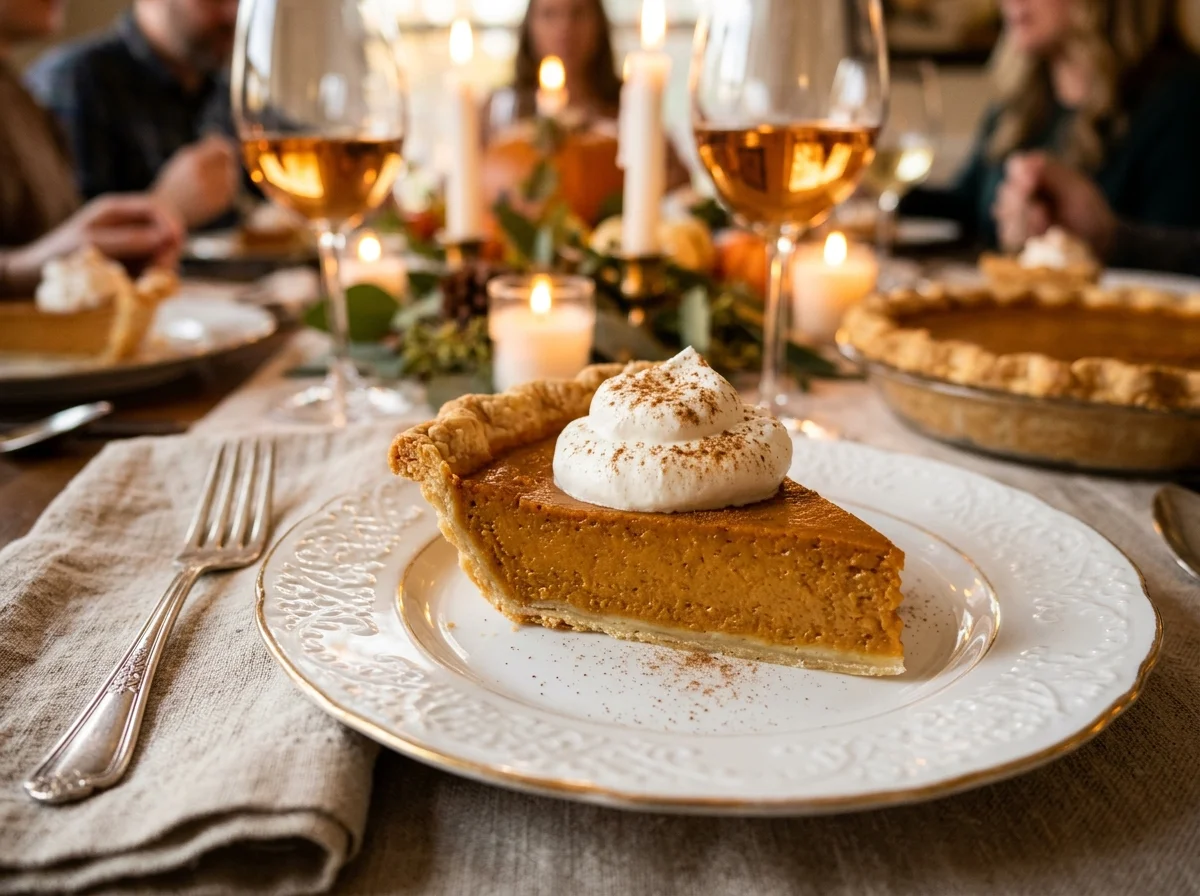
Thanksgiving Day Make-Ahead Strategy & Oven Game Plan
Every holiday host knows the stress of Thanksgiving morning when the oven is commandeered by the roast turkey, herb stuffing, and bubbling casseroles. Pumpkin pie is your greatest tactical ally:
- Bake 1 to 2 Days Ahead: Pumpkin pie not only survives make-ahead preparation—it thrives! As it rests chilled in the refrigerator, the ground spices harmonize and bloom through the pumpkin custard.
- Free Up Prime Oven Real Estate: Baking your pie on Tuesday or Wednesday evening completely frees your oven on Thanksgiving Day for savory sides like our Classic Green Bean Casserole and Herb Stuffing.
- Serving Temperature: While pumpkin pie can be served refrigerator-cold, allowing it to sit at room temperature for 30 minutes before dessert time softens the butter in the crust, restoring its optimal flaky mouthfeel.
How to Store, Chill, and Freeze Leftovers
- Refrigeration: Because of the eggs and heavy cream, homemade pumpkin pie must be refrigerated once cooled. Cover loosely with aluminum foil or plastic wrap for up to 4 days.
- Freezing: You can freeze fully baked pumpkin pie! Let it cool completely to room temperature, wrap it snugly in two layers of plastic wrap, then seal in heavy-duty aluminum foil. Freeze for up to 2 months. Thaw slowly overnight in the refrigerator before serving.
- The Maple Whipped Cream Pairing: Skip canned aerosol cream and whip cold heavy cream with pure maple syrup and vanilla paste until soft billowy peaks form. The gentle woody maple sweetness cuts the richness of the spiced pumpkin custard flawlessly.
Frequently Asked Questions
Can I use fresh pumpkin instead of canned?
Yes, but you must use small sugar pumpkins (pie pumpkins), not carving pumpkins. Roast the halved pumpkins at 400°F until tender, scoop the flesh, and purée. Crucially, you must strain fresh pumpkin purée through cheesecloth for at least 2 hours to drain excess liquid; otherwise, your pie will be watery.
Can I make pumpkin pie without evaporated milk?
Yes! This recipe uses fresh heavy whipping cream (or a 50/50 blend of heavy cream and whole milk), which produces a richer, more luxurious custard flavor than canned evaporated milk.
Why did my pie form bubbles on top?
Vigorous whisking or electric beaters can aerate the batter with tiny bubbles that rise to the surface while baking. After whisking your custard, let the batter rest on the counter for 5 minutes, then gently tap the bowl on the counter to pop any trapped air bubbles before pouring into the crust.
How do I get clean, professional slices?
Always chill your pie thoroughly for at least 2 hours before slicing. Use a long, sharp chef knife. Dip the knife in hot water and wipe it completely dry with a clean kitchen towel between every single cut.
Classic Homemade Pumpkin Pie Recipe
Ingredients
Method
- Position your oven rack in the lower-third position. Place a rimmed baking sheet on the rack to preheat with the oven. Preheat your oven to 425°F (220°C). The hot baking sheet will immediately conduct heat to the bottom of the pie pan, ensuring a shatteringly crisp bottom crust.
- Roll out your chilled pie dough into a 9-inch deep-dish ceramic pie dish. Flute or crimp the edges decoratively (cut decorative pastry leaves from scrap dough and adhere to the rim with a dab of water if desired). Lightly brush the bottom and inner sides of the crust with beaten egg white to form an impermeable seal against moisture.
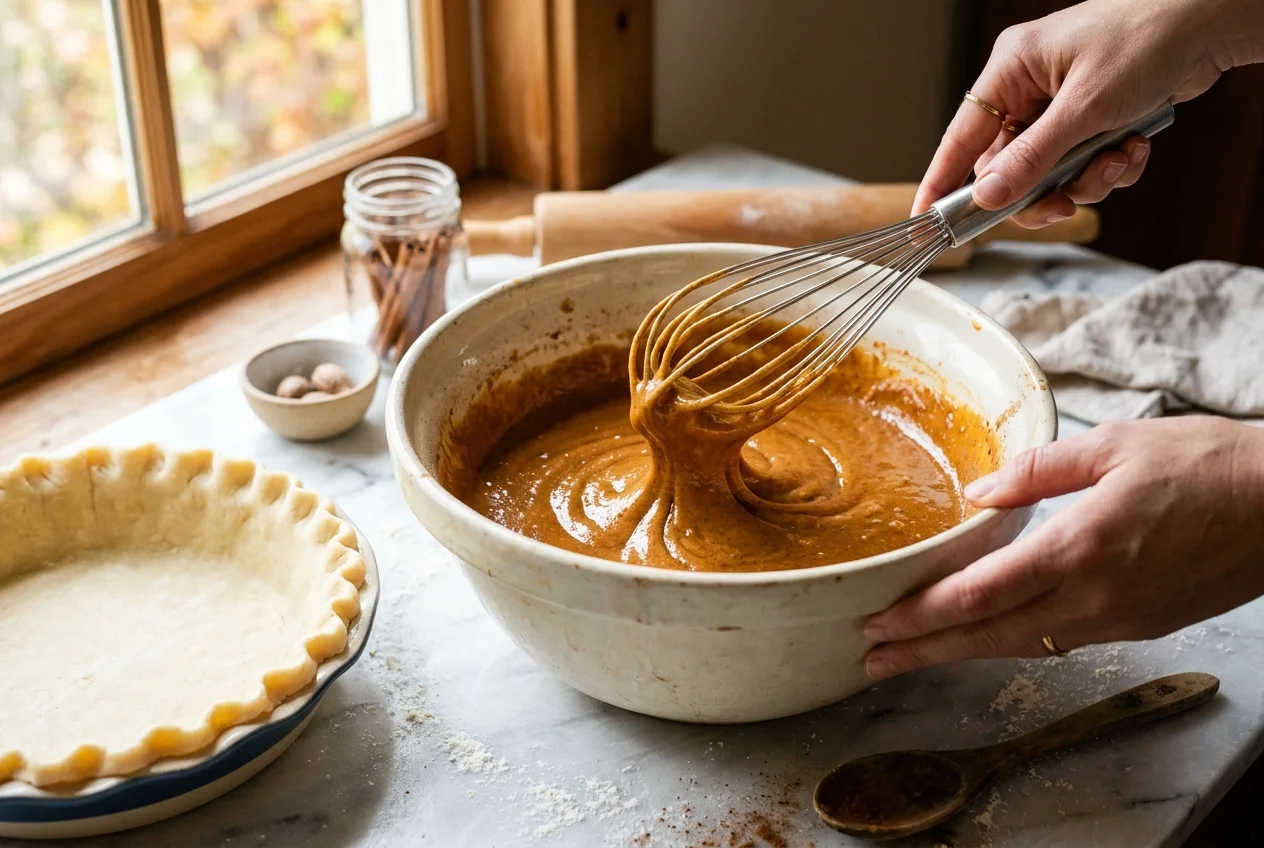
- In a large mixing bowl, combine pure pumpkin purée, light brown sugar, granulated sugar, cinnamon, nutmeg, ginger, cloves, and fine sea salt. Whisk vigorously for 1 minute until completely homogeneous and fragrant.
- Whisk in the 2 whole eggs and the extra egg yolk one by one until smooth.
- Gently pour in the heavy cream and pure vanilla extract. Whisk gently until fully incorporated into a silky, glossy, pourable copper-orange batter. Avoid aggressive whipping at this stage to prevent trapping air bubbles that could cause surface blisters during baking.
- Pour the velvety pumpkin custard filling into the prepared crust. Slide the pie directly onto the preheated hot baking sheet in the oven.
- Bake at 425°F (220°C) for exactly 15 minutes. Then, without opening the oven door, reduce the oven temperature to 350°F (175°C) and continue baking for 35 to 40 minutes.
- Check the "Jiggle Test": The edges of the pie should be puffed and set, while the center (a 2-inch circle) should still have a delicate, gelatin-like wobble when gently nudged. A knife inserted halfway between the center and edge should come out clean. Turn off the oven, prop the oven door open slightly with a wooden spoon for 10 minutes to cool gradually.
- Transfer the pie to a wire rack to cool completely at room temperature for at least 2 to 3 hours. Do not slice while warm. Transfer to the refrigerator for at least 2 hours before slicing for razor-sharp, elegant cuts.
- Beat cold heavy cream with maple syrup and vanilla until medium-soft peaks form. Pipe or dollop generously over pie slices and dust lightly with ground cinnamon.

Leave a Comment